Help center / For agencies / Start
Agency workspace guide
1. Adjust workspace appearance
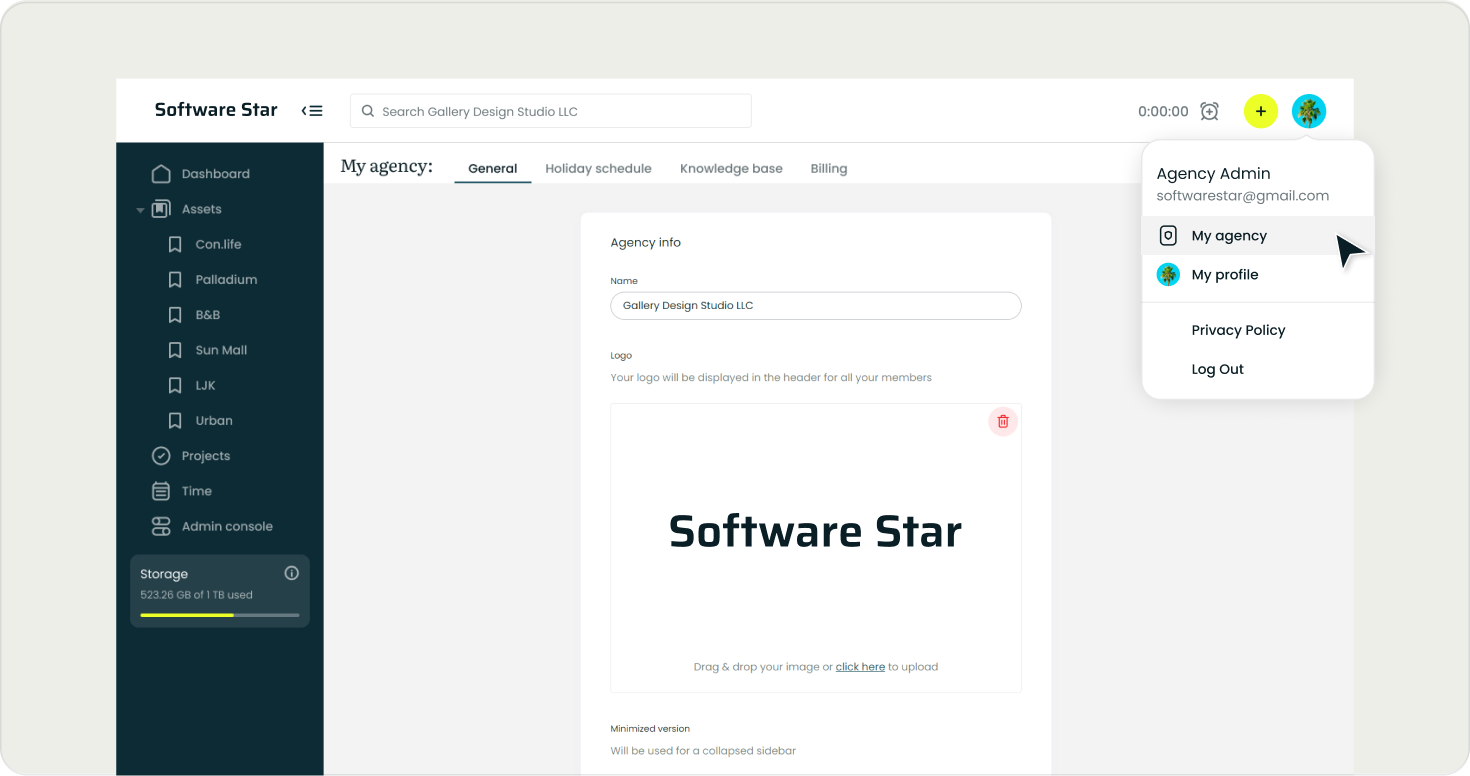
Click on ‘Avatar’ > ‘My agency’ > ‘General’ settings
Add your agency logo to ensure your workspace is easily identifiable. It will be displayed in the header.
2. Setup holiday schedule
Click on ‘Avatar’ > ‘My agency’ > ‘Holiday schedule’
Agency holidays will be shown on the dashboard for all your members. By default, all USA federal holidays are included in your agency schedule. Uncheck the checkbox to remove a holiday from the schedule. To add a new holiday, enter the name of a holiday, it's date and click the 'Add new' button.
To set up personal out of office (OOO) days, go to your dashboard and click the 'Edit' icon in the 'My Schedule' widget, or go to 'My profile' > 'Vacations / Leaves'
❕ Added holidays will be visible to all your members including clients (‘Guest’ role).

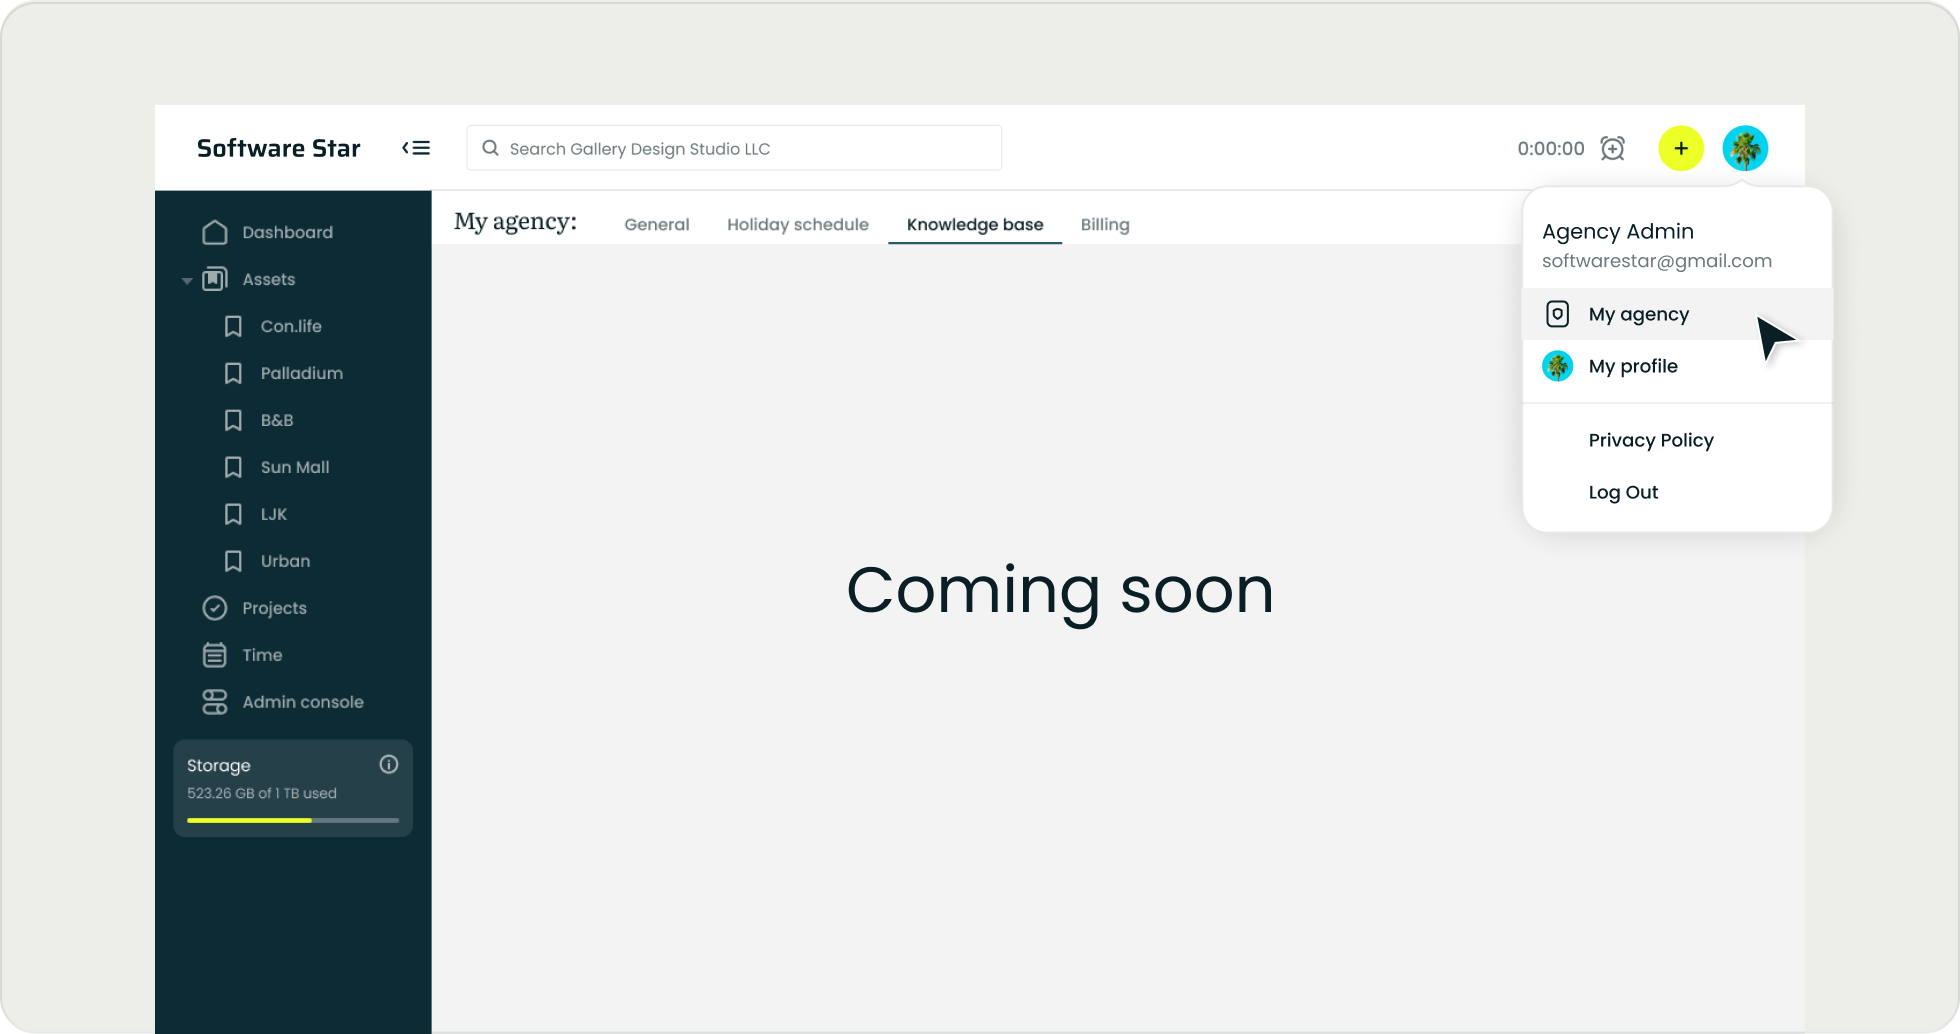
3. Welcome your members
Click on ‘Avatar’ > ‘My agency’ > ‘Knowledge base ’
Coming soon..
❕ All added sources will be available on dashboard for chosen role.
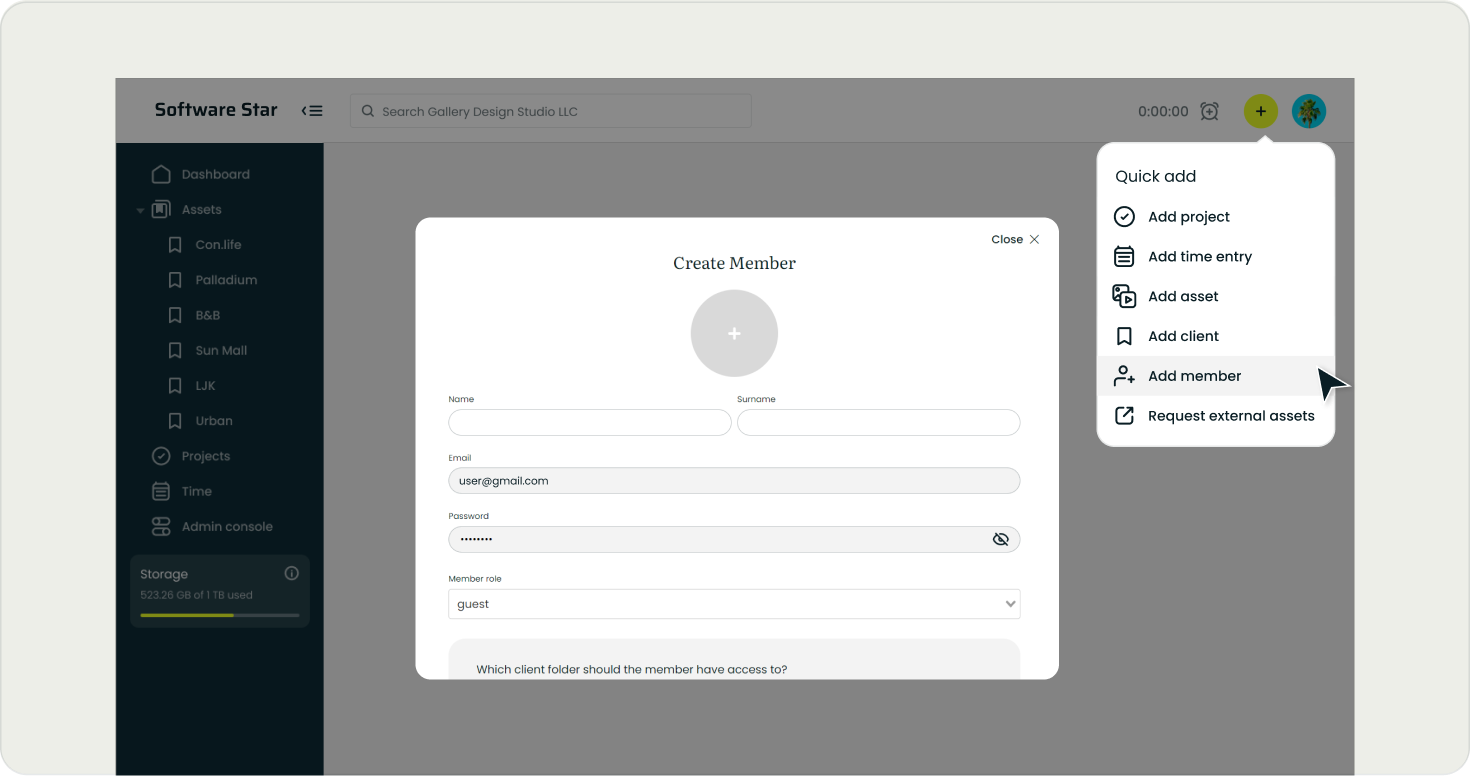
4. Invite team members
Click on ‘+’ icon > ‘Add member’
or
‘Admin console’ > ‘Members’ > ‘Add member’
Send invitations to new users via email, and preselect an appropriate role. After registration, users can change their password in the 'My Profile' section.
Creative operations, made simple
Request free trial