Help center / For agencies / Step 3
Adding new time entry
1. Move project to ‘In progress’
‘Projects’ > Click on project > Change status
or
Drag & drop project card on board view
❕ Team members can’t track time on a project until it is moved to "In Progress" / "Client Review" status.

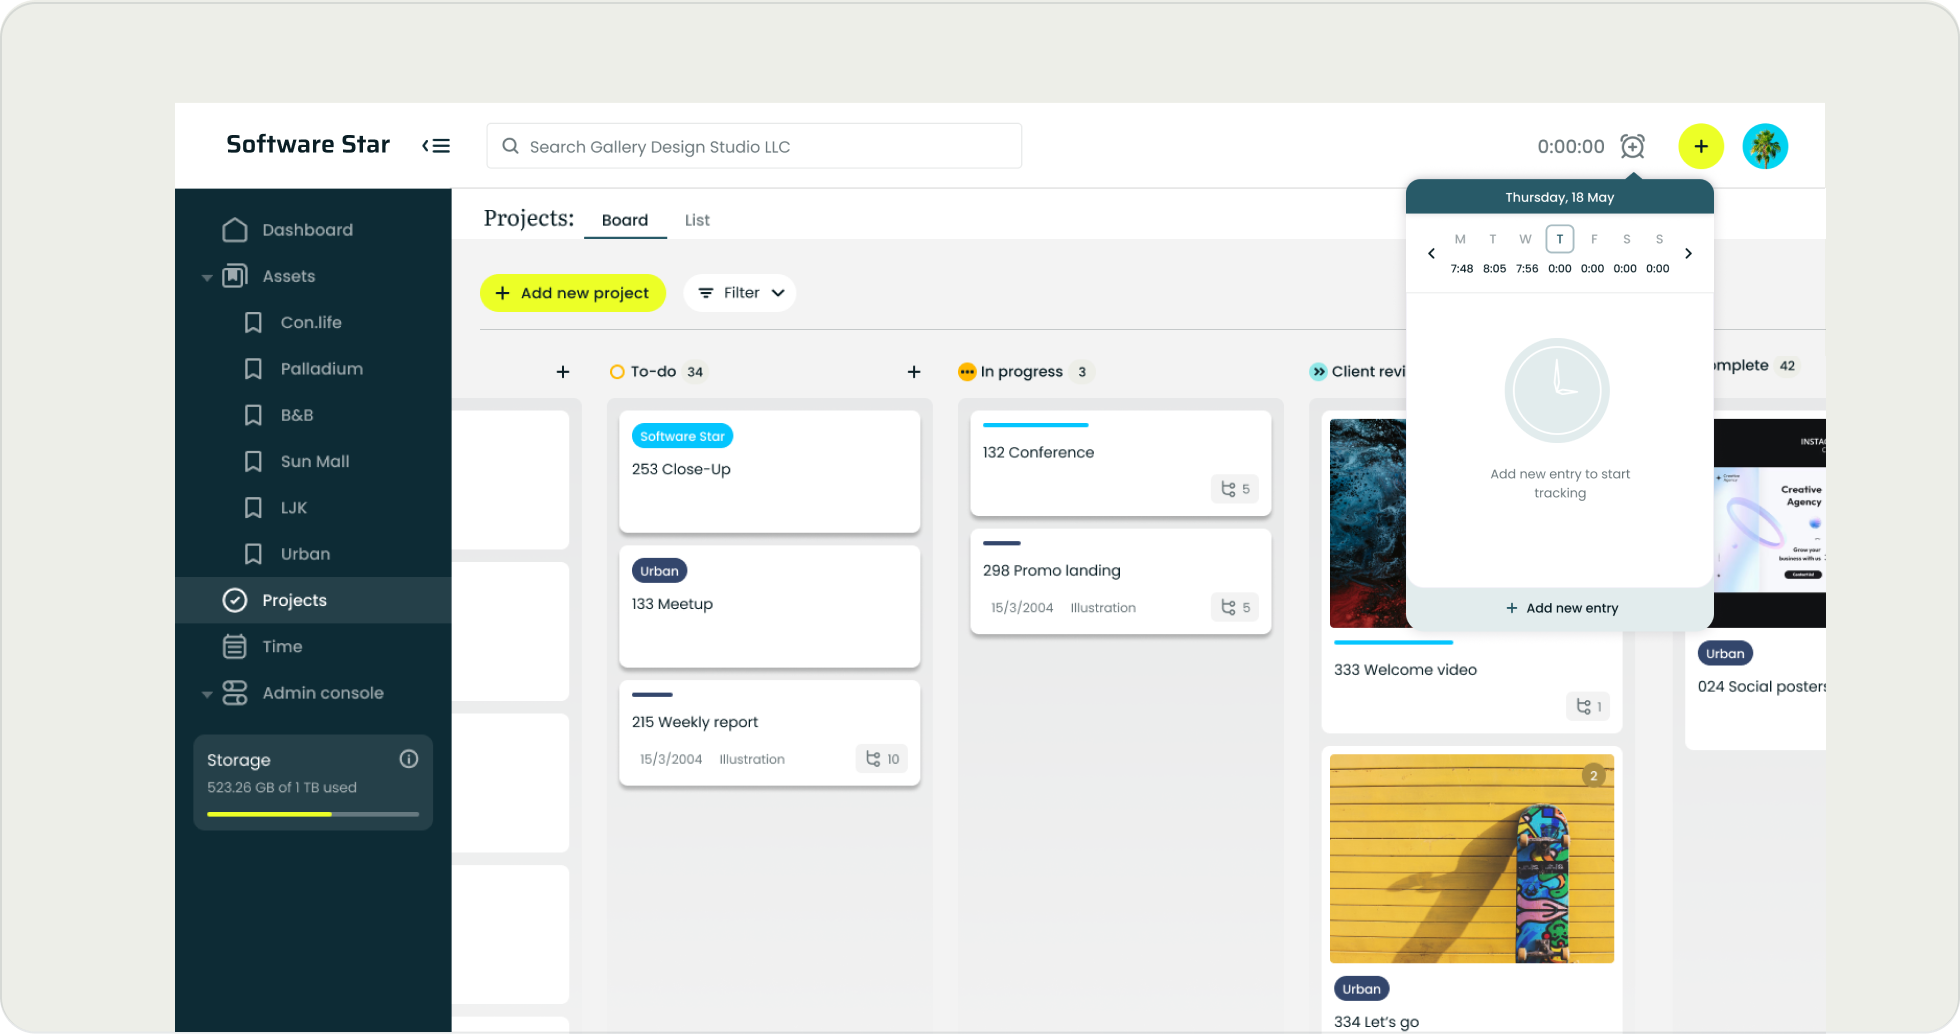
2. Start tracking time or add time entry manually
Click on ‘Clock’ icon on top > ‘Add new entry’
Select client and project you are working on. If this is a new project, click 'Add new' in the 'Project' drop-down list.
The project description can be updated later. In time reports, the total hours will be grouped based on the descriptions provided during time tracking. These descriptions will be visible to agency admins but hidden in client reports.
To manually add a time entry without tracking it online, click on the '+' icon and then select 'Add Time'.
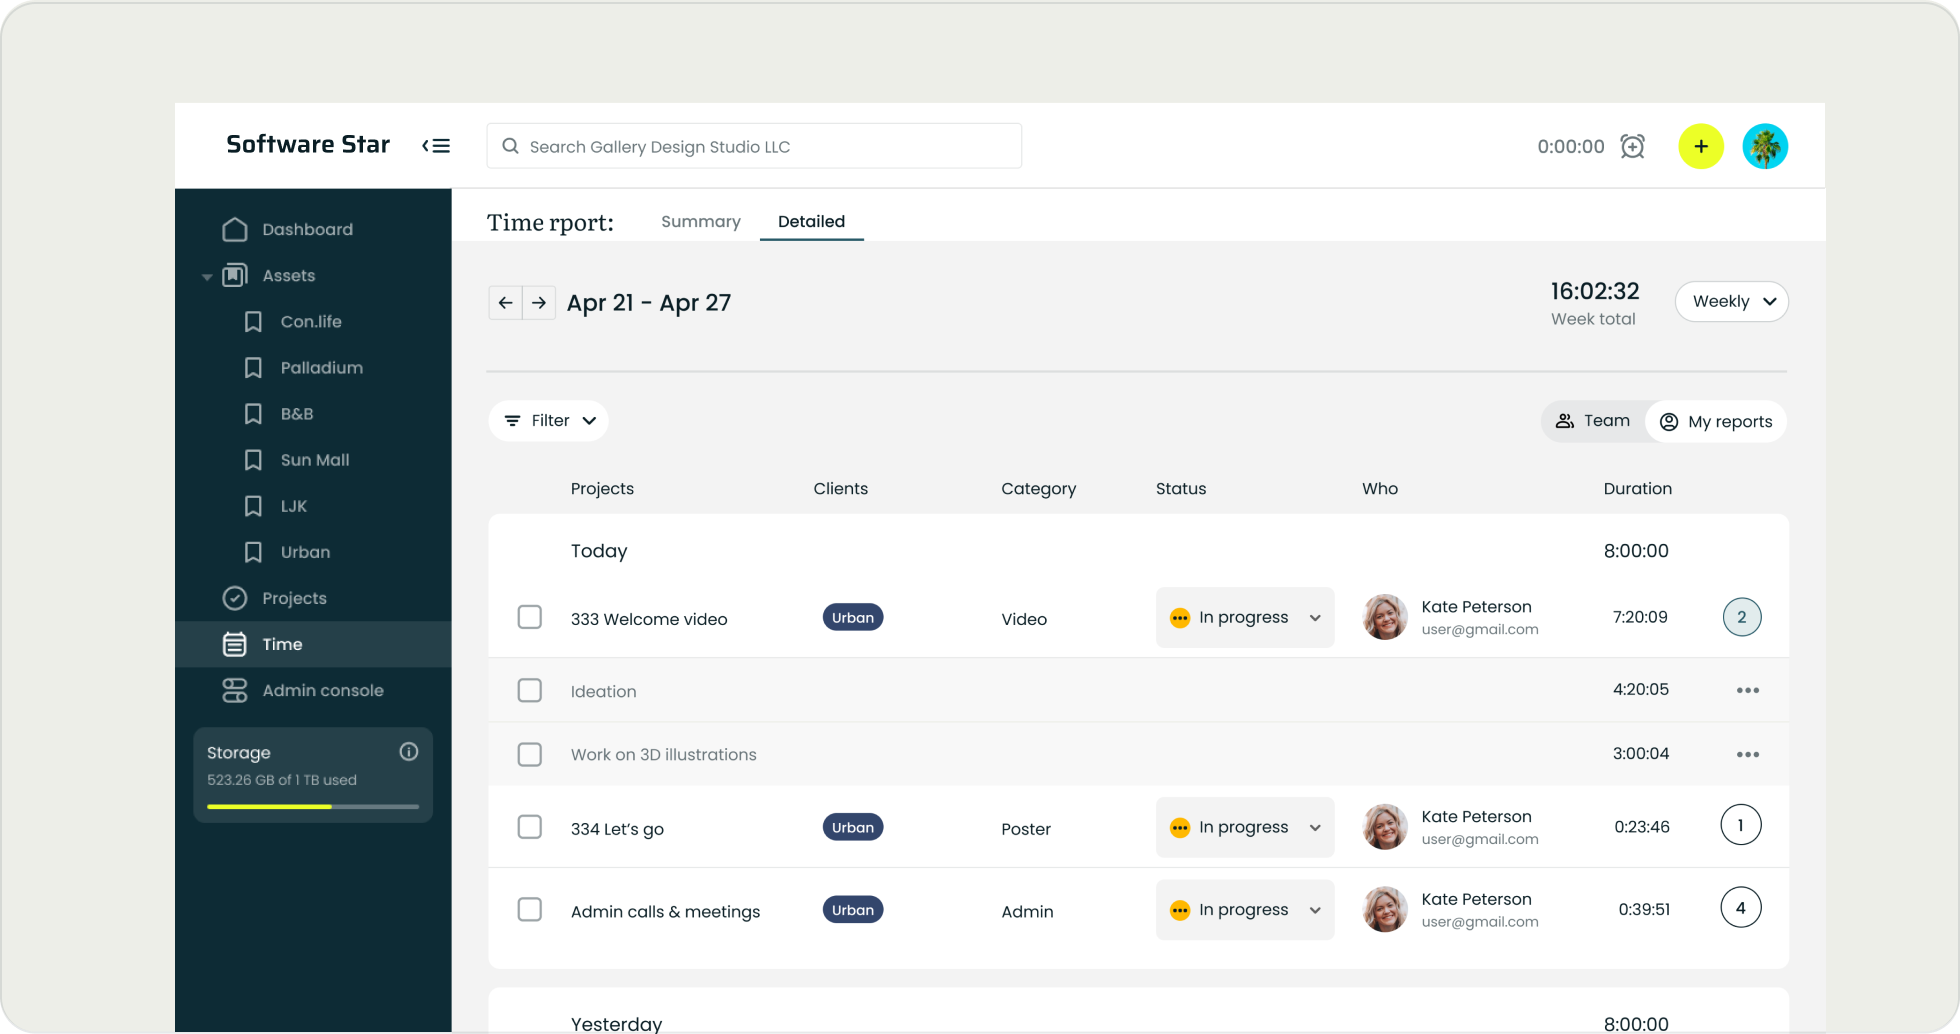
3. Check time reports
Click on ‘Time’ in a sidebar
Expand row to see all created time entries per project / subtasks. To edit description, duration and / or date of time entry, click on 'more' icon > 'Edit'.
❕ Check 'Step 1: Adding new client' to learn more about client's reports.
Creative operations, made simple
Request free trial